Understanding Fractures and Splinting
Being prepared for emergencies is a crucial skill for every scout, especially when it comes to handling injuries like fractures. A fracture, commonly known as a broken bone, can happen due to falls, accidents, or trauma. Understanding the basics of fractures and splinting is essential for scouts in India, especially those at the Pratham Sopan level, as it equips them with the skills to provide immediate care and support in case of an injury during a trek or camp.
Identifying a Fracture
Before you can apply a splint, it is important to identify whether someone has a fracture. Here are some signs that might indicate a fracture:
- Pain: Severe pain at the site of injury.
- Swelling: Noticeable swelling around the affected area.
- Deformity: The limb may look bent or misshapen.
- Bruising: Discoloration around the site of injury.
- Immobility: Difficulty or inability to move the affected area.
In a scouting scenario, for example, a fellow scout might fall from a tree or during a hike. It’s important to remain calm and assess the situation carefully.
Basic Techniques of Splinting
Once you’ve identified a fracture, the next step is to immobilize the affected area using a splint. Splinting helps to prevent further injury and reduce pain. Here’s how you can make a simple splint:
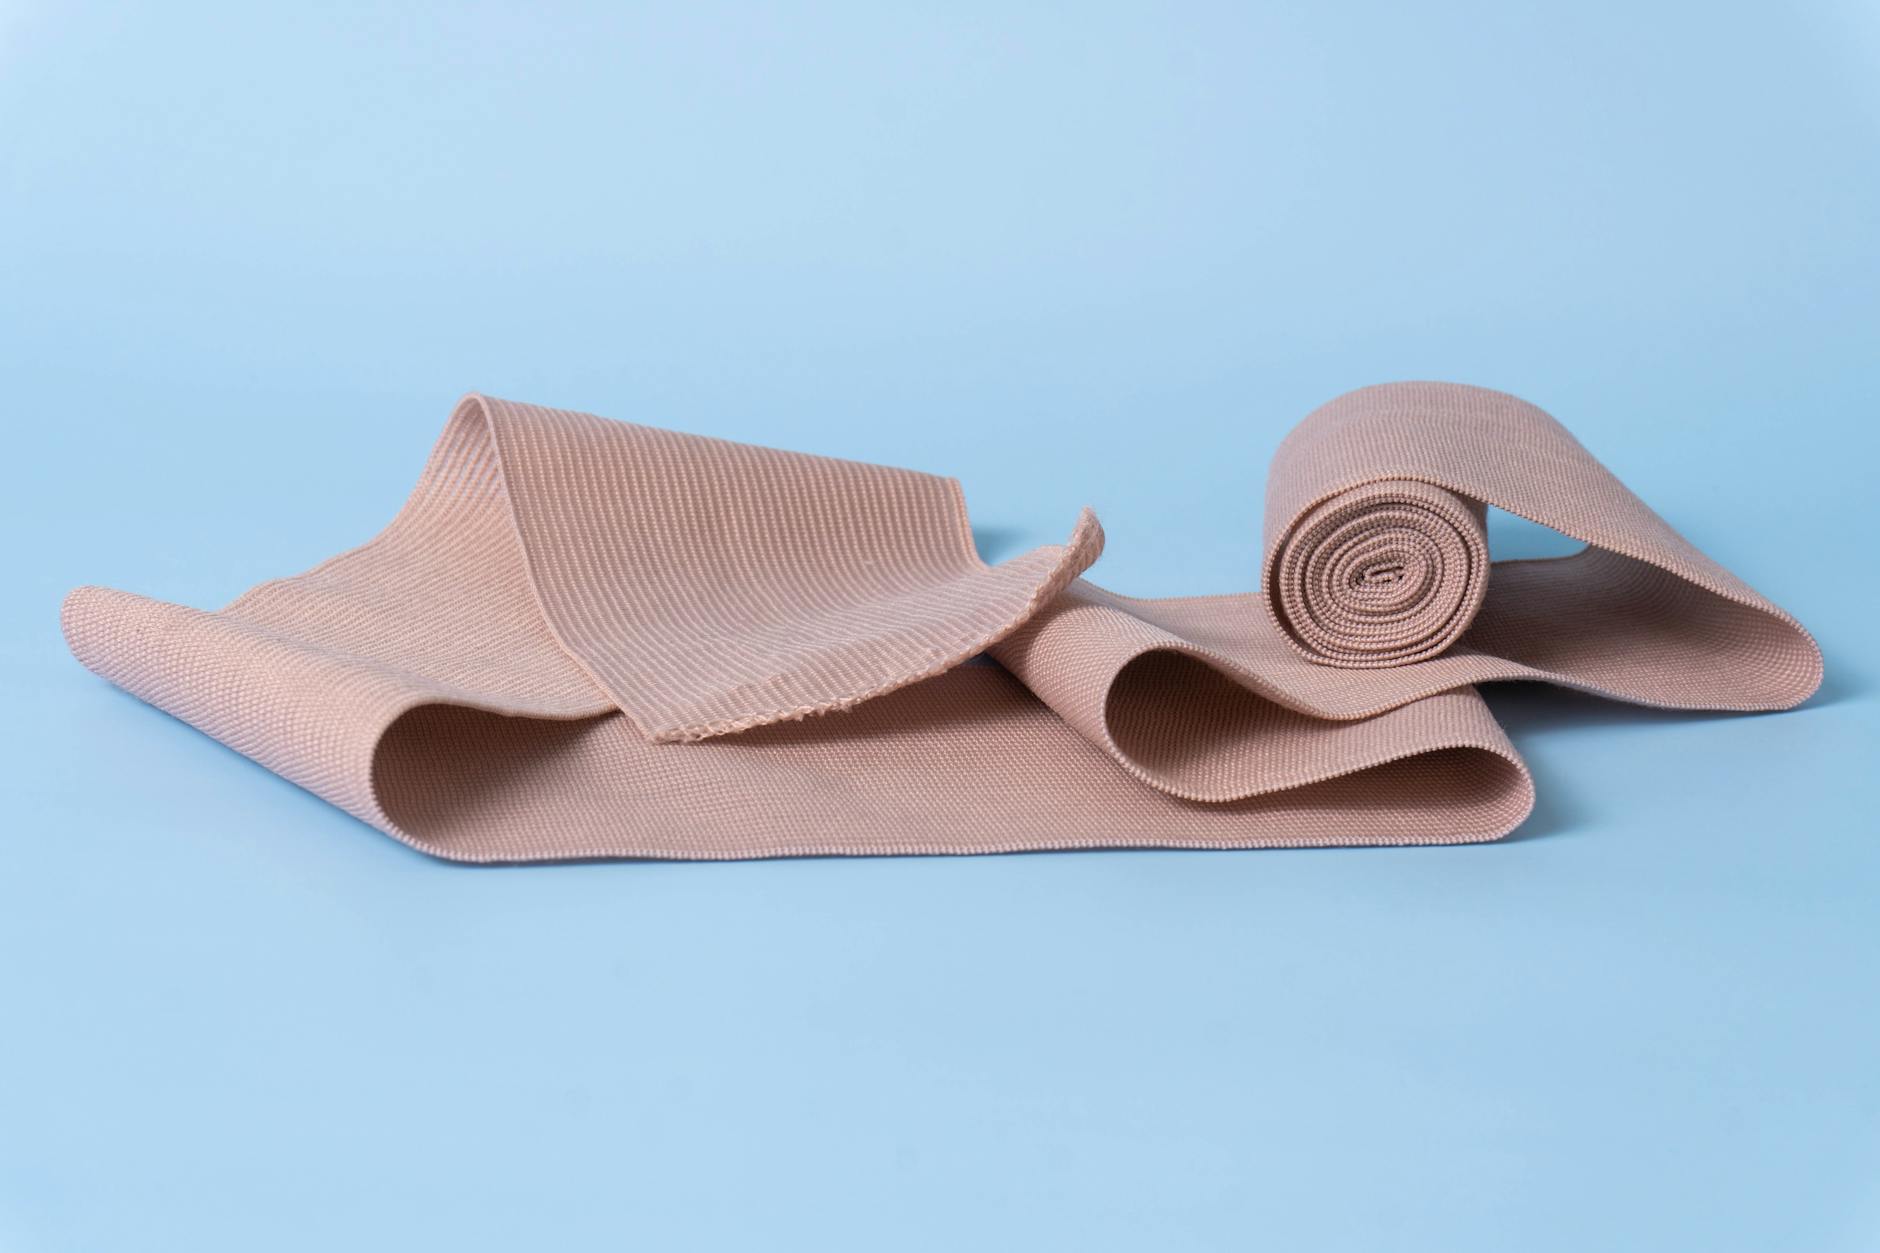
- Find a rigid object: Use a stick, a rolled-up newspaper, or even a scout staff to act as the splint.
- Pad the splint: Use cloth, a scarf, or any soft material to cushion the area between the splint and the skin.
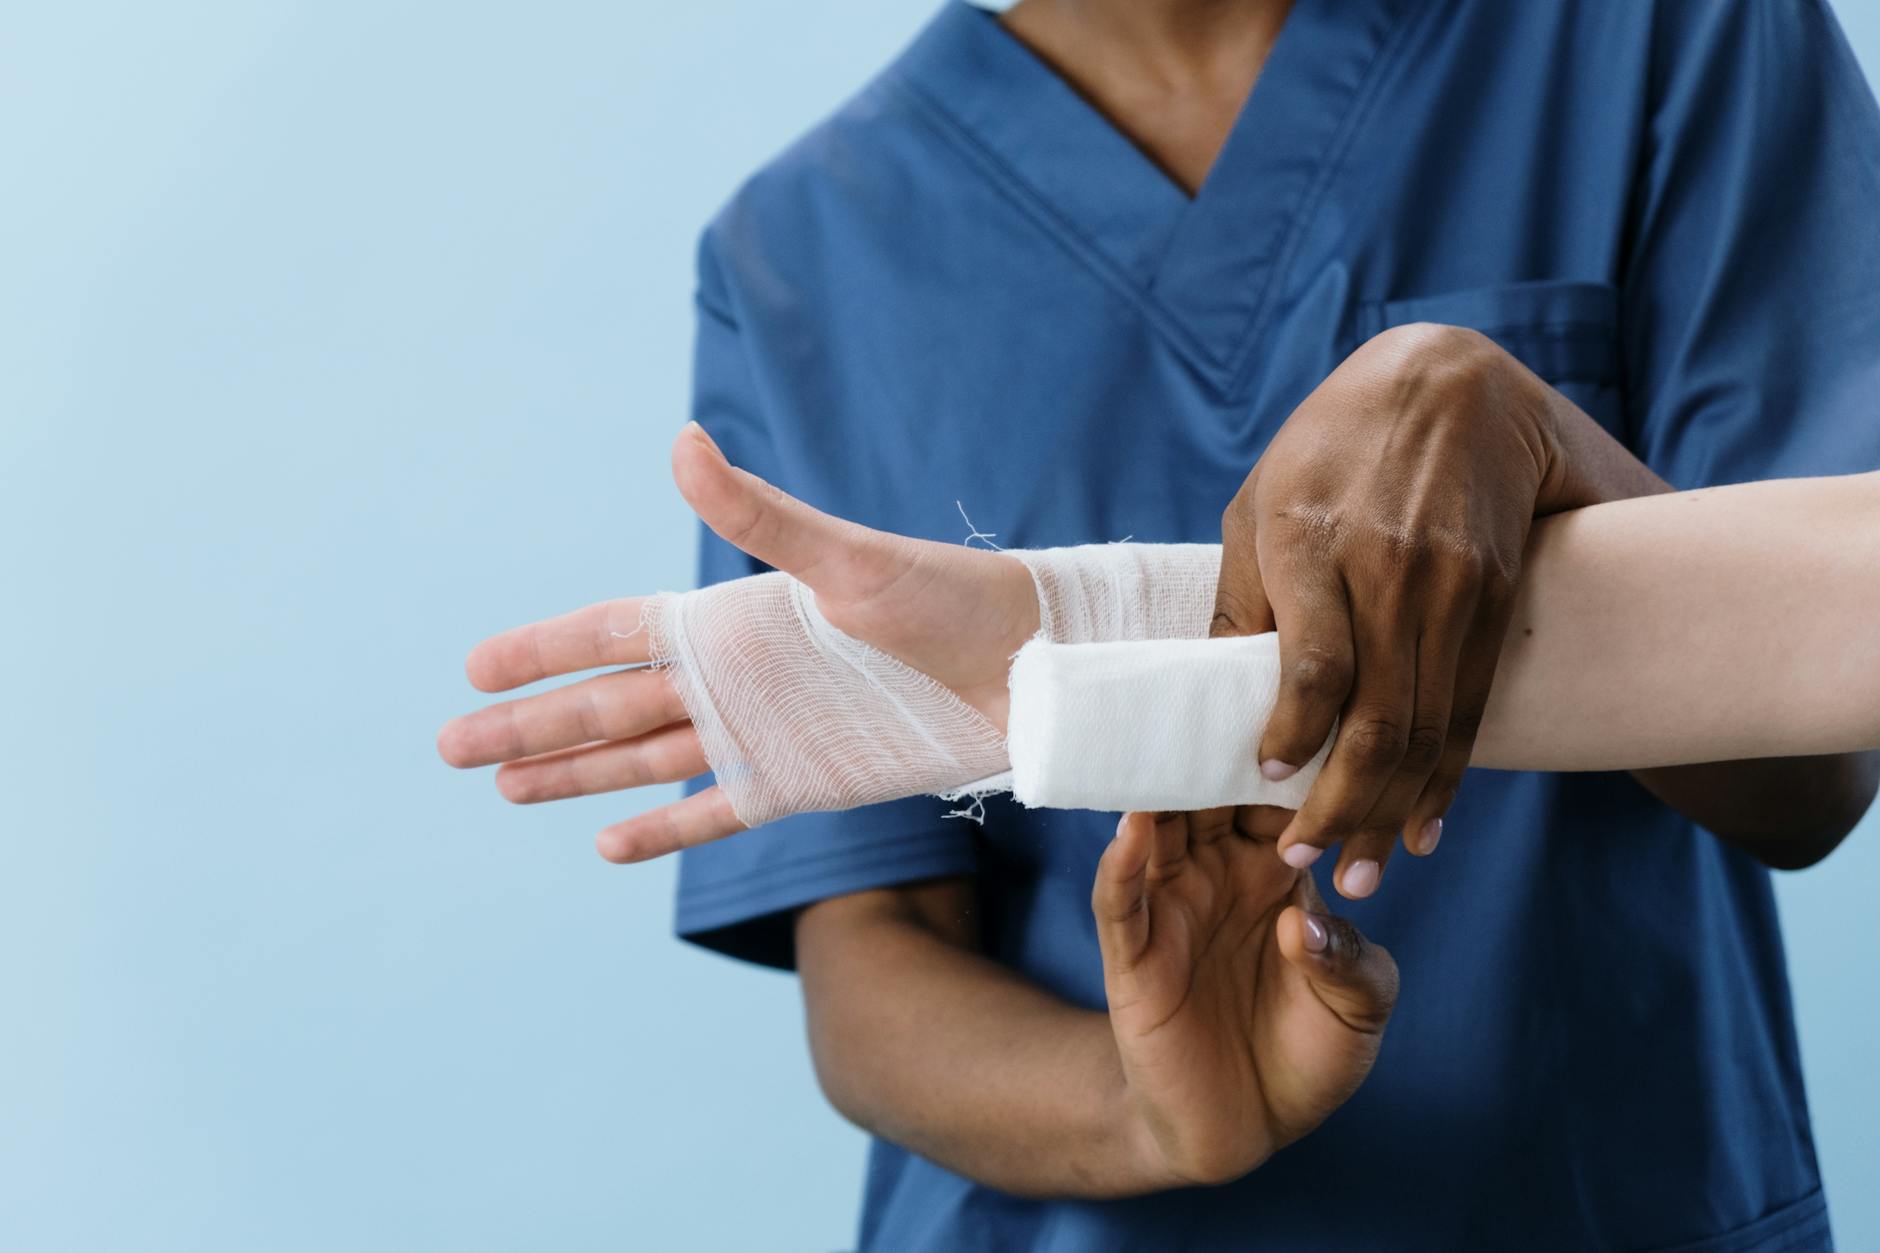
- Apply the splint: Place the splint gently along the limb, ensuring it supports the joints above and below the fracture site.
- Secure the splint: Use bandages, cloth strips, or a scarf to tie the splint firmly but not too tightly around the limb.
- Check circulation: After securing the splint, ensure that circulation is not cut off by checking for warmth, color, and sensation in the extremities.
In a scouting camp in the lush forests of India, scouts might have to improvise using natural materials like bamboo or branches to create a splint, showcasing their resourcefulness.
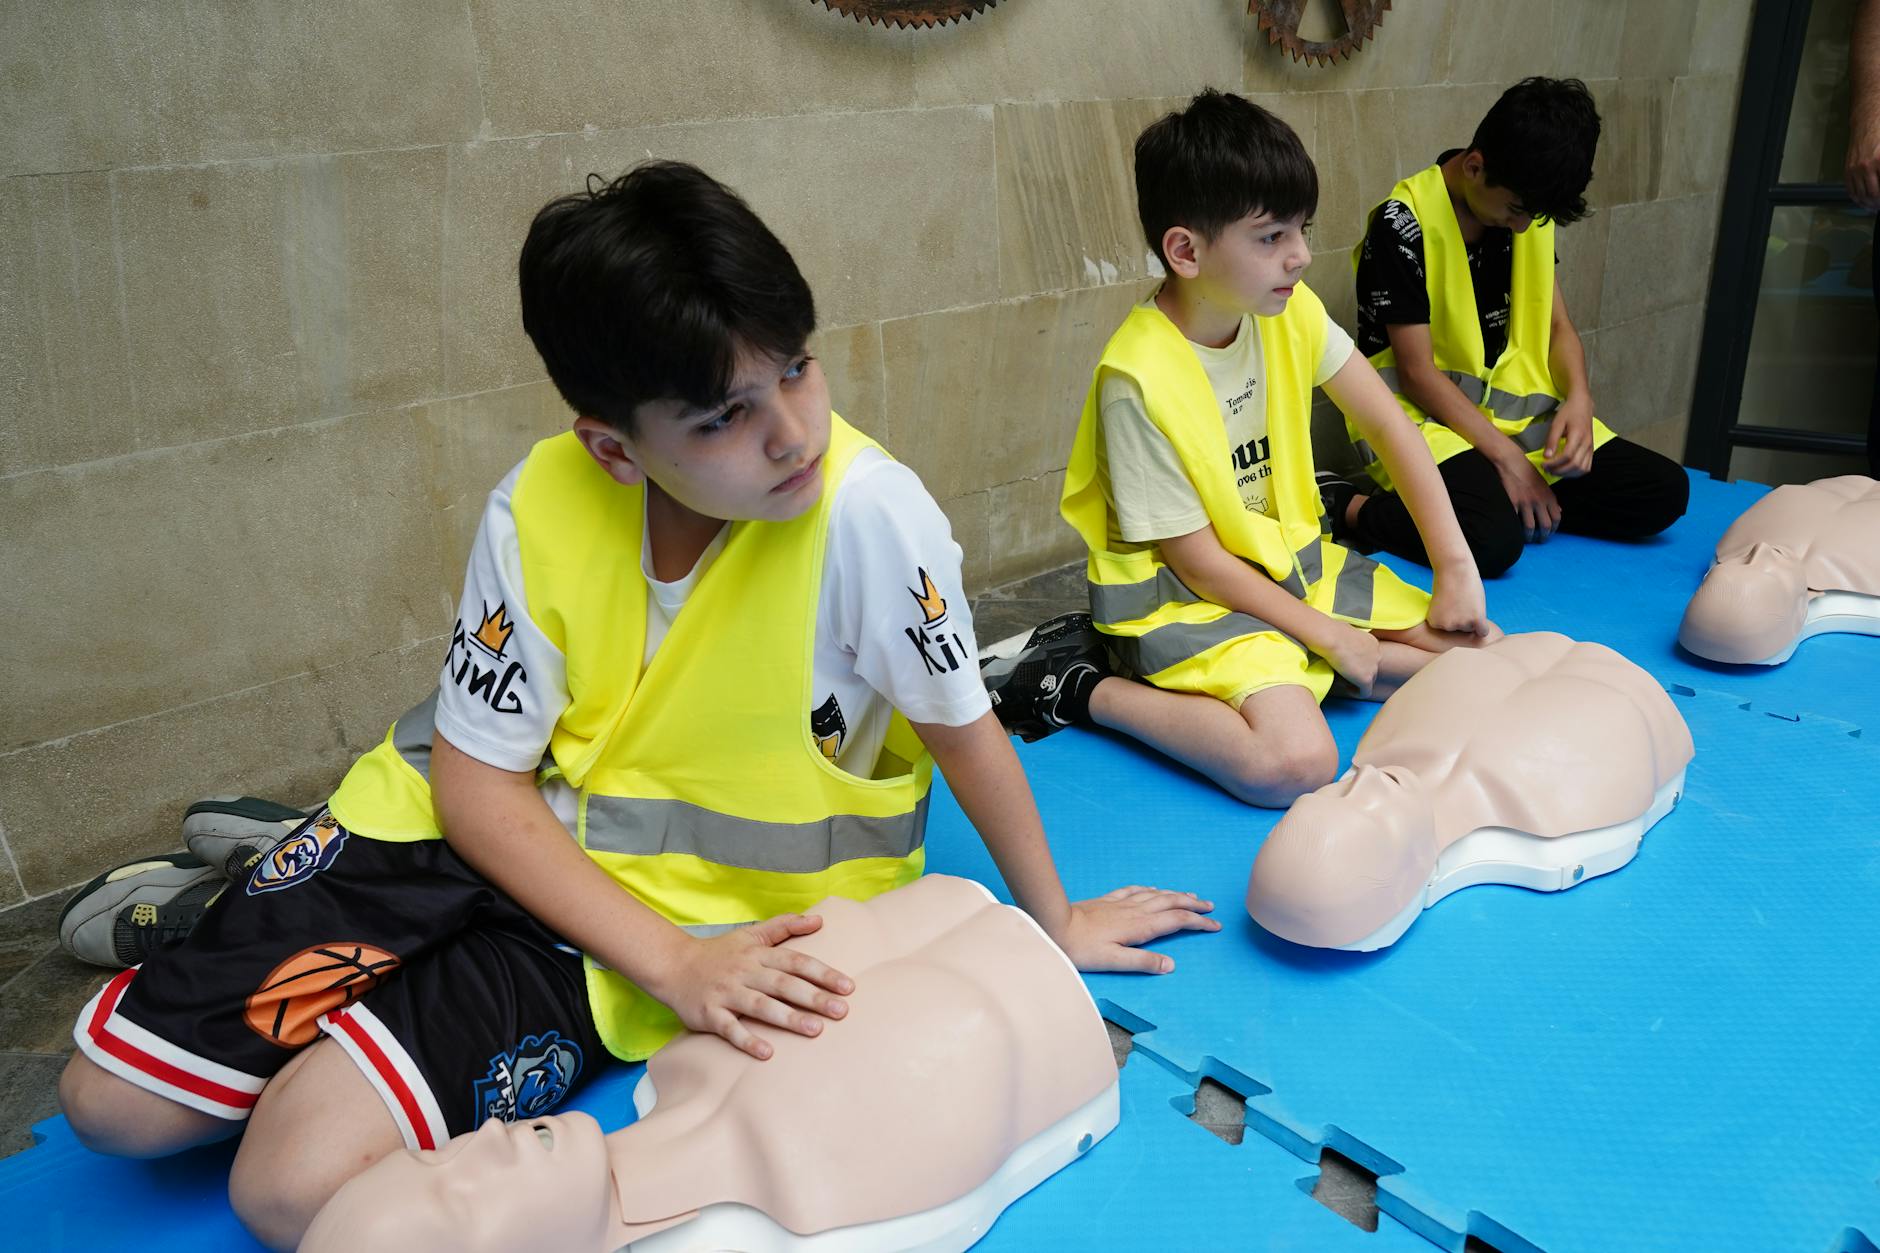
Practical Scout Activity: Splinting Drill
To practice these skills, organize a splinting drill during your next scout meeting or camp. Here’s how you can conduct it:
- Divide into teams: Split the scouts into small groups.
- Simulate an injury: Assign one member in each group to be the “injured” scout.
- Provide materials: Give each team items like sticks, cloth, and bandages.
- Time the activity: Set a time limit for the teams to create and apply a splint.
- Review and discuss: Once the time is up, review each team’s splint and discuss what went well and what could be improved.
This activity not only builds practical skills but also fosters teamwork and problem-solving, reflecting the true spirit of scouting.
Conclusion: Be Prepared, Stay Confident
Understanding how to handle fractures and apply splints can make a significant difference in an emergency. As scouts, being prepared means being equipped with the knowledge and skills to help others. Whether you’re trekking in the Western Ghats or camping in the deserts of Rajasthan, knowing these basic first aid techniques boosts confidence and ensures safety. Remember, our motto is “Be Prepared,” and by mastering these skills, you’re not only helping those around you but also setting an example of leadership and resilience. Keep practicing, stay alert, and continue to be a beacon of hope and support in your scouting journey.